
Most of the modeling methods of 3D printers are produced by using the aided design software CAD. In computer aided design, AutoCAD is a kind of software with relatively powerful functions. It has a wide range of applications. Design is competent, and it is something that most engineering designers need to master.
Let me share with you 10 modeling tips to help you make better 3D prints. Let’s take a look.
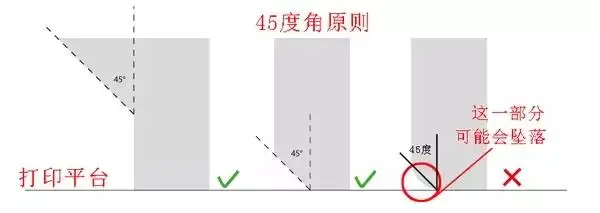
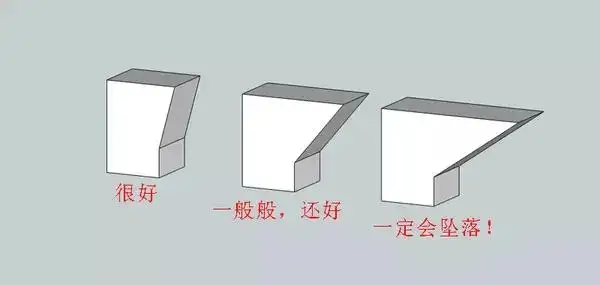
1. Rule of 45
Generally, the protruding parts exceeding 45 degrees in the model need to be supported during printing. So when we model, try to avoid protruding from a large angle.
2. Optimize the design and add less support
The pain of adding support and removing it can only be known by personal experience, and after the support is removed, ugly marks will still be left on the model, and the process of removing the marks is time-consuming and laborious.
In fact, whether you need to add support or not depends on how much effort you put in when modeling. You can design supports or connectors for the parts that must protrude to reduce the chance of adding supports.
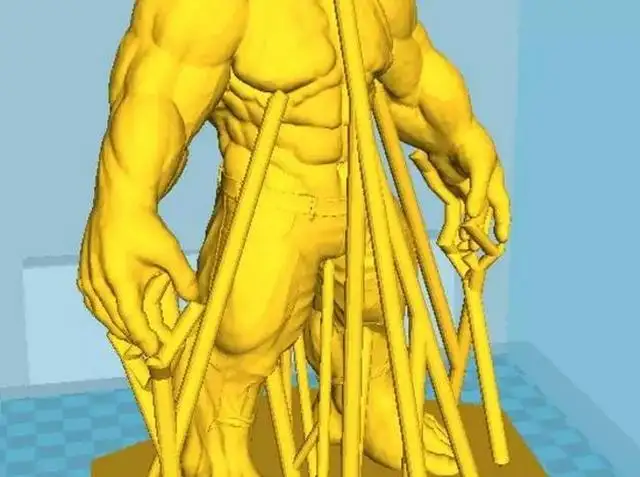
This saves the trouble of adding supports, removing supports, and polishing the support parts. Of course, it is really unavoidable to add support to the model, so we can only bite the bullet and add it.
3. Try to design the printing base yourself
The large contact area between the bottom of the model and the platform can effectively reduce warping, such as the most famous "mouse ears".
As shown in the picture below, this is a disc-shaped or conical base to increase grip.
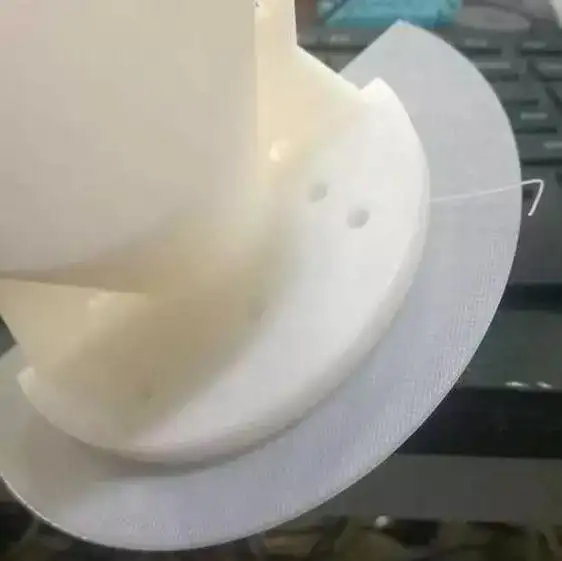
Of course, you can also use skirts and rafts in slicing software to reduce warping. However, the bottom raft is not recommended, it will slow down your printing time, and it is difficult to remove and damage the bottom of the model.
4. Know the limits of your printer
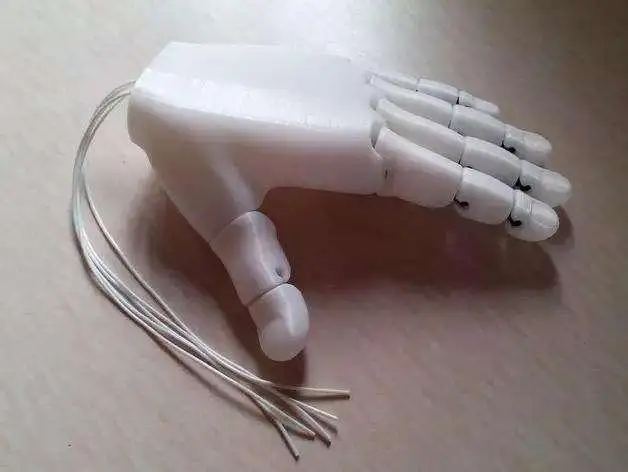
According to the situation of your own printer, reasonably design the model, such as printing a hand-made model with many details with an FDM printer, it is undoubtedly asking for trouble, to support and trim the corners...
5. Set tolerances reasonably
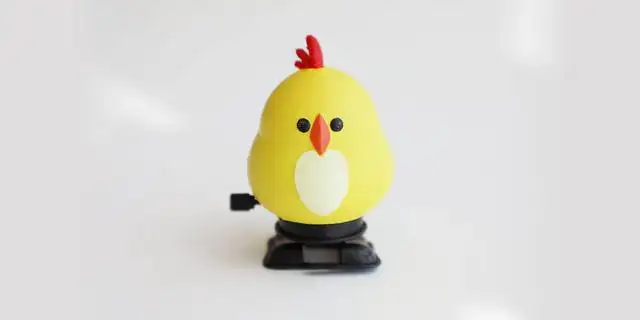
For the model printed by ordinary desktop 3D printers, there must be some errors, especially in the moving parts, inner holes and other parts.
For those with high precision requirements, the tolerance should be set reasonably when designing the model, such as the compensation amount for the inner hole. Finding the correct tolerance is a hassle and requires you to feel the temper of your machine.
6. Moderate use of the shell (Shell)
For some high-quality models, don’t use too much shell setting, especially for models with tiny text printed on the surface. Too many shell settings will make these details blur.
7. Make good use of line width
There is an important but often overlooked variable when playing with 3D printers, and that is line width. The line width is determined by the diameter of the nozzle of the printer, and most printers have a minimum of 0.4mm.
When printing a model to draw a circle, the diameter of the smallest circle that the printer can draw is twice the line width. For example, for a 0.4mm nozzle, the smallest circle that can be drawn has a diameter of 0.8mm.
So make good use of the line width when modeling. If you want to make some models that can be bent or have a thinner thickness, set the thickness of your model to the minimum.
8. Adjust print orientation for best accuracy
For FDM printers, you can only control the accuracy (layer thickness) in the Z axis direction, because the accuracy in the XY axis direction has been determined by the line width.
If your model has some fine designs, it is best to confirm whether the printing direction of the model is capable of receiving] Qu cut ┚ thin features, it is recommended to print these details in the Z-axis direction (vertical).
When you design a model, it is best to place the details in a position that is convenient for vertical printing. If not, the model can be cut up, printed, and then reassembled.
9. Adjust print orientation to withstand pressure
When the printed part needs to bear a certain pressure, if you want to ensure that the model will not be damaged or broken, you have to be careful when modeling and printing.
When modeling, you can appropriately thicken the pressure-bearing position according to the force direction. When printing, print vertically in the direction of the Z axis, and the bonding force between layers is limited, and the ability to withstand pressure is not as good as printing horizontally in the direction of the XY axis.
10. Position your model correctly
When printing, the placement of the model is also a big question. In addition to adjusting the printing direction mentioned above, you have to pay attention to the placement to minimize the chance of adding supports.
Also, if a lot of models are printed together, the placement of the models needs to pay attention to the spacing, too close together is not necessarily a good thing.
In short, it is always good to master some small skills and avoid detours~~
