The most common and used type of Printed Circuit Boards is the rigid type, but the flex one is another type that you may think of using it after getting yourself familiar with, especially that it is now more available than before as more manufacturers are providing this type.
In this article we will see what flex PCB is, where flex PCB can be used, why it is more costly, and finally how to order a flex PCB from a manufacturer like PCBway.
For the first impression, readers may think that PCBs may come in 2 types either rigid type or flex type only, while there is another third hybrid type called rigid-flex PCB. Rigid-flex PCB is a circuit board that has both rigid circuit section and flex circuit section and they are laminated together. Flex PCB are also known as Flex Circuit Board or FCB.
The below figures are showing example of flex and rigid-flex PCBs.

On the right, an assembled flex board. On the left, a panel of rigid-flex board
Flex boards can be used as connectors, and as full circuits assembled with components. And yes it can hold the soldering heat moreover it can stand way more than rigid ones with high temperature based on the used film material type.
Rigid-flex PCB from a systematic point of view may not have the flex part laminated permanently, it could be soldered or connected with it through a connector like the 3 different types of rigid-flex PCB image below shows.

In the left figure, the flex is soldered in or plugged into the rigid section. In the middle figure, the 2 boards have the flex part as part of their design stack-up. In the right figure, one board has the flex part in its stack-up and connected to a rigid PCB through a connector.
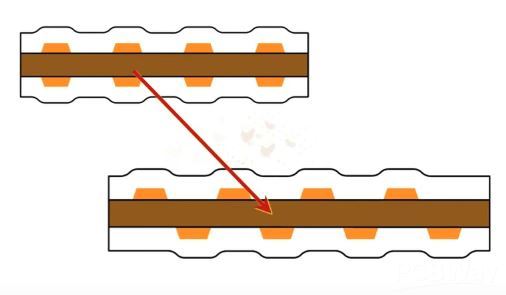
However, if you choose the rigid-flex option, then It is up to you to select which layer to be the flex one in your design layer stack-up. The below image shows a flex-rigid board with flex as bottom layer.

Keeping in mind that it is advised to have the flex layer in the middle, when that is applicable.

Different configurations of flex layer in design stack-up.
The reason behind the freedom of choosing the flex layer position is that the manufacturing process will be similar. The multi-layer will be built layer by layer.
Another first impressions about flex PCBs may be thinking that it’s single or double side only, but actually flex PCB can be multi-layer just like the usual rigid PCB.

Showing single-layer , double-layer and multi-layer flex PCB
Flex PCB is More Costly than Rigid One, Why ?
It is about complexity and the number of material and process involved to make your flex PCB done. Flex PCB manufacturing has the same rigid pcb steps in addition to other ones.
It’s clearly that flex pcb has more complexity and human interaction than the usual rigid boards and as a result of this: more cost!
Keeping in mind that customers may have other special requirements that would increase the cost even more. Example of these special requests is to add what is called Stiffener, which is a rigid material (can be FR4) added to specified areas of flex PCB to increase overall thickness.

Showing a stiffener (dark brown)
Roughly comparison between the rigid vs flex PCB manufacturing from a number of processes and material perspective. Rigid PCB has 8 steps of manufacturing compared to 17 in flex PCB with more materials involved.

Showing difference between manufacturing rigid PCB and flex PCB.
Flex PCB Use Cases
Actually the examples of using flex PCB is unlimited, but showing some could clarify the importance of this technology rather than thinking that it is only good for connectors and screen panels.
Regards using flex PCB as connectors, it could be a cost effective approach compared to rigid ones connected with wires. This is because connecting 2 PCBs together may require in some cases designing a special harness cable or connector which will add additional steps in assembly and introduce more cost for testing and assembly.
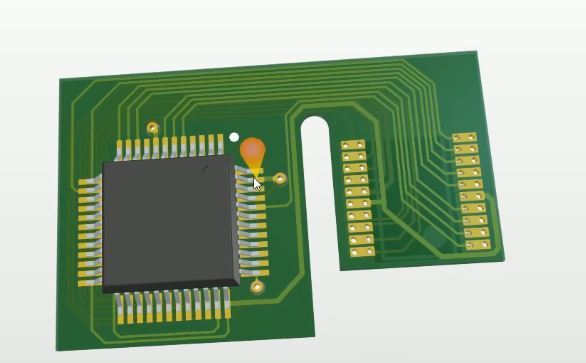
Another case of using flex PCB is when doing a replacement of a part with a different package without changing the PCB design. This is what Dave from evvblog did to replace stm32f070f6p6 / TSSOP package with stm32f070CB / LQFP package.

A sketch of flex-pcb outline that will be a TSSOP to LQFP replacement.

The flex PCB design in 3D.
Roles of Thumb in Flex PCB Design
This paragraph will not state all roles of thumb in FPC design, rather it will mention few in order to give the reader an idea of what things to take into consideration while using flexible boards. Some of them are shared even with rigid PCB.
Wide to Thin Copper Traces
If you want to have more flexibility, then you would use thinner copper traces to have less resistance to bending. In the same time you may use wide endings at the edge to allow soldering the flex cable somewhere else. If the transaction is done in a sharp way then this will be considered as a weak point when soldering. So it is better to do a gradient change in width between thin and wide traces in the mentioned case.

Showing the desired change in width in the right figure, while the left one is not desired.
Adding Offset between Top and Bottom Traces
Another tip is making an offset between the traces on top and bottom and avoid making them on top of each other, this will give better mechanical performance to avoid cracking traces.

Double sided flex-pcb. An offset is desired to be added between top and bottom traces.
Pads in Flex-PCB / Hold-down tabs
In order to make pads stronger in flex-PCB especially for single side and non-plated through holes, parts of Pad should be covered with coverlay/solder mask, like the following configurations in the figures below.

Another tip is to add extra copper in the shape of a tab! The image below shows how this is done.

No Solid Polygons
When it is applicable, solid polygons should be avoided as solid copper will make the PCB less flexible. Instead, a hatched polygon could be used, like the image below.

Rounded Corners
It is advised to use rounded edges in the areas of expected/designed to be bended, this will greater the tear resistance if compared to 90 degree sharp edges.

The rigid part will be laminated to flex. The material type provided is FR4 and Metal (not mentioned what type of metal but stainless steel or aluminum are usually used). The image below shows an example of using stiffeners for areas like the edge connector and mounting holes. This option affects the manufacturing cost.

Also customers need to choose the type of surface finish, which is a process to add extra surface (coating) on top of copper layer to help solderability. The surface finish has 4 common types: Immersion Gold (ENIG), Organic Solderability Preservatives (OSP), Immersion Silver (Ag) and Immersion Tin. All of these to preserve copper from oxidation and to achieve better properties for components assembly. However, each type has its advantages/disadvantages.

